Enter me.
Chef. Check. Baker. Check. Ability to cook Mexican dishes. Not so much. Practice makes perfect as they say, so I bought a couple cookbooks for Mexican food from authors that were hailed as being truly auténicos. My first attempt at something beyond the realm of a tortilla--which was a challenge, by the way, and is also supposedly the most simple--is pinto beans. So I bring you, my attempt and subsequential failure at making frijoles. Oh, and because a sad story isn't what you came here for, my knight in shining armor rescues me at the end. Don't worry. (I know you were worried.)
I made myself some Agua de Sandia and consulted the lovely ladies from Muy Bueno for a simple way to make pinto beans. There are thousands of ways to make pinto beans. Each family from each region does it differently. I always forget to take that into account. So while the lovely ladies from Muy Bueno are from Northern Mexico and Texas, my man is from Jalisco and that's a whole lot of space and recipes between those two areas. To me, beans are beans, but to mi Mexicano, it is a way of life and heritage. Someday I hope to understand that difference.


I gathered my ingredients: a bag of dried pinto beans, a white onion, and salt. I happened to have some salt from Colima that we bought while visiting his family in Jalisco. It packs a punch.
I poured out my beans onto a cutting board to pull out any that were shriveled, broken, or discolored; as well as any pebbles, if there had been any--there wasn't.

Then, the directions said to rinse off the beans for about 3 minutes under cold water.

Finally, to soak the beans for 2-4 hours. I was doing this later at night on a Friday, so I figured leaving them to soak overnight would be no big deal.
 |
| Friday night pre-soak. |
 |
| Saturday morning, after soaking for 12 ish hours. |
 |
| My beans after cooking...yeah, they even look like there is something left to be desired. |
Enter white knight and his abuelita albeit unknowingly.
Since it was my first time, he cut me some major slack and helped rescue me by showing me how his family makes beans.
Their way:
Javi started by putting the beans in the pot (after washing it) and half filling the pot with cold water. He explained to me that when you do this, rather than laying them out on the cutting board, you will find all the "bad" beans because they will float. Interesting and cool. Next, we dumped out that water and added enough water to fully cover the beans and about 1-2 inches above them. Then, we started straight away to boil them and kept them at the medium high heat for the entirety of cooking. We continually added more water as the level got low enough to expose the beans. 2ish hours later...we got frijoles y'all.
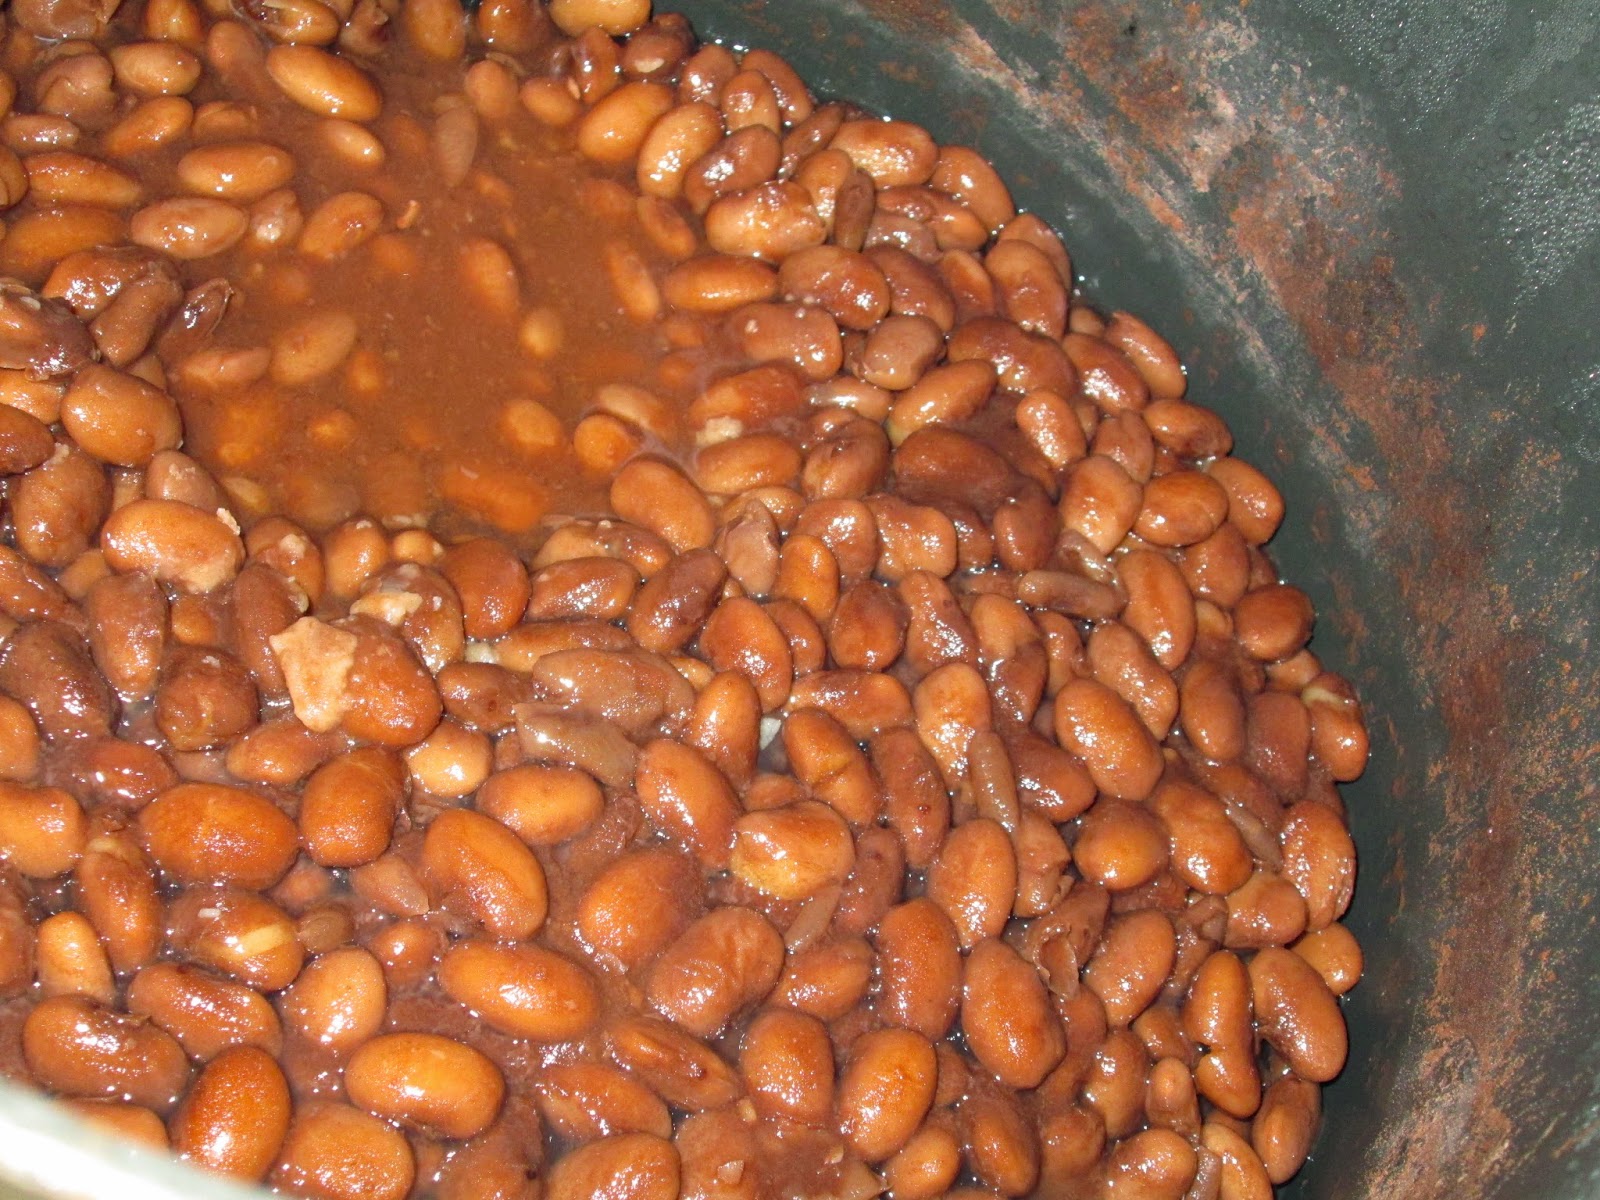 |
| Now these are frijoles de pinto. |
Love Always,
Joanna Rose